I wanted to share the process of making the seat cushions since I felt like a had to mesh a bunch of tutorials online to make a seat cushion with piping for our dining chairs. You don’t want to read a gigantic post, so the process will be spilt up into manageable stages (you know like projects you do in real life anyway). Forewarning this particular aspect of making the piping is not shown step-by-step because there’s a tutorial for that…Making Bias Tape by Prudent Baby.

Bias is the cross grain of your fabric. You can see me measuring and marking my fabric along that 45 degree angle. As mentioned, used the Prudent Baby tutorial for Making Bias Tape. Follow her steps to the ironing your bias tape (step 2). Then stop because you aren’t going to fold and iron to make bias tape.

My bias is marked 1.5″ stripes. The typical way to determine your bias width is double the width of your cord and the width of your seam allowance. My cord was 6/32″ so double that is 12/32″ which doesn’t come out really even at 0.375″. The standard seam allowance is 1/2″ so double is 1 inch. I didn’t want to measure 1.375″ so I just rounded it up to 1.5″ to make it easier to mark.
Look closely at my bias ruler. I thought I was pretty genius marking it with bright red thread. Here’s the deal the fabric is black and the 1.5″ line is also black, so I was having a hard time seeing well enough to line up the 1.5″ line against the white line to mark my next line. I know that makes me sound like an old lady, but I don’t care. It was seriously frustrating me, so I danced when I came up with the red thread trick.

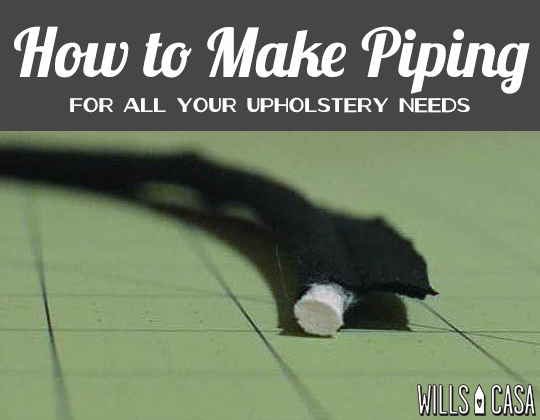
Once you do some sewing (again see the tutorial), you cut out one long strip of bias ready to use after you press it. Now you are ready to pin your cording to your bias and sew them together.

Use a zipper foot and sew as close to the cord as you can. I will admit that I can barely sew a straight line (don’t judge), but the zipper foot makes it incredibly easy. It only took me about 1.5 hours and that’s with never having made bias tape before. I was figuring it all out as I went. I used 1/2 yard of fabric which gave me a little more than 11 yards of bias. I only used 5.5 yards for the piping, so there was more than enough.

Sidenote: There is fuse piping which makes all this even easier. You will still need to cut your bias, but instead of sewing the bias to your cord you iron it. Yes it’s that easy. I did buy some of this. Even though the measurements are the same 3/16″ for the fusible to 6/32″ cord I used (which reduces to 3/16″), the 6/32 was actually thicker. It doesn’t make sense, but that’s how it is.
*Update: See how the chairs turned out here.


nancy zieman is serious about piping. im glad you outlined this, because i have yet to tackle a few piping projects…now i know where to go when i stop procrastinating
I put off this project because I really didn’t want to deal with it. I’m shocked at how easy it has been. I can’t wait to see the projects! Your pillows turned out so well!