
Here is the Wills Casa rendition of how to paint furniture. Nick showed you the nook update with our now black (and super awesome) $25 craigslist table. I wanted to show the whole process of the transformation as a guide to anyone thinking about tackling a furniture update via paint.
Shopping List:
Next Paint Prep (or TSP)
Elmer’s Wood Filler
Putty Knife
Klean-Strip Liquid Sander
Ryobi Corner Cat Sander with 80 grit sandpaper (optional)
Zinsser Brown Label Primer
Behr Premium Plus Ultra in Satin (I used Black Suede)
Flood Floetrol
Minwax Wipe On Poly in Satin
Minwax Fast-Drying Polyurethane in Satin
Foam Roller with high density rollers
Foam Brushes
Tack Cloth
Lint-free towels (or old tshirts as long as they are white)
Latex Gloves
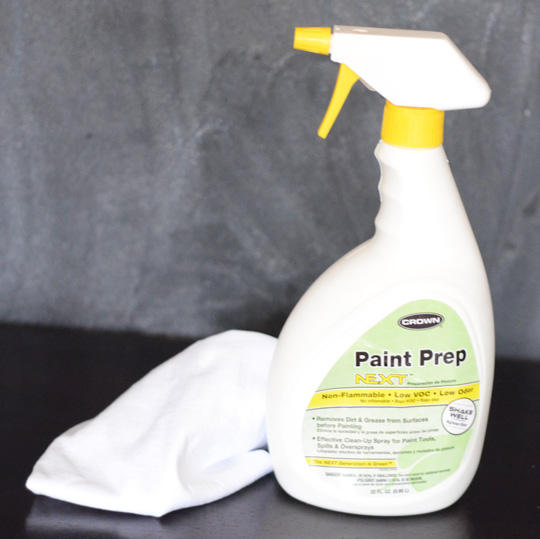
1. Clean your piece of furniture.
It’s important to get your furniture as clean as possible. I wanted to make sure to get all the left over grease and grime off. (2 year old + food + table = deep cleaning required always) I cleaned it with Next Paint Prep from Lowes. It’s low VOC and low odor, so I opted for this instead of traditional TSP. Also it was a few bucks cheaper.
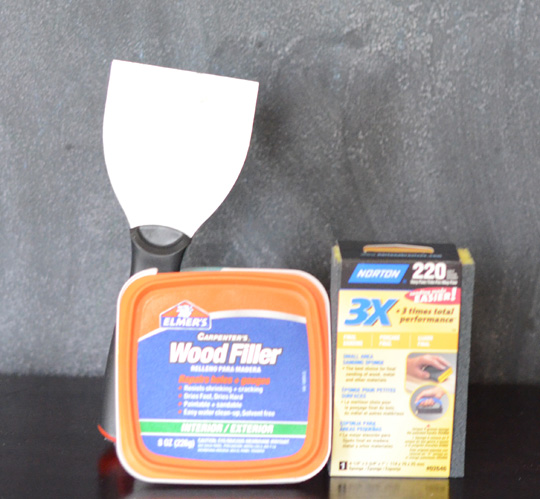
2. Fill in holes with wood filler.
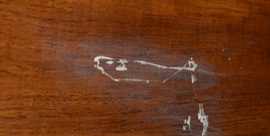
Find all those dents, scrapes, and holes. Fill them with some wood filler using a putty knife. I used Elmer’s Wood Filler. Sand the filler down with 220 grit sandpaper. Wait 24 hours before applying any liquid sander or primer.
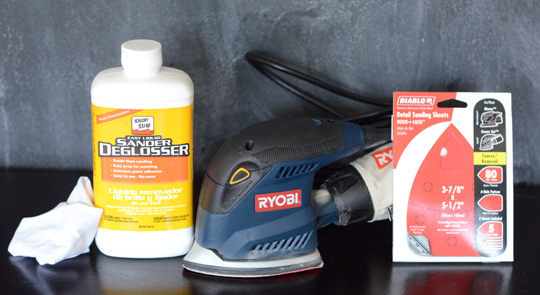
3. Sand.
You have 2 options liquid sander or hand sanding with 80 grit paper. The condition of your furniture will be the biggest factor in determining which option will work for you. If you have a piece that is in poor shape with lots of bruises, then you will want to hand sand to smooth out the wood. The Ryobi is $30 at Home Depot.
I did both. I used the liquid sander on the legs and table edges. (This is also the easiest method when dealing with curves and small areas. I liquid sanded the chairs because the pattern was too intricate to use a sander.) Use a lint-free cloth and wipe the liquid sander on your furniture. (Yes it’s that easy.) It’s dry in about 10 minutes and ready for the next step. I hand sanded the table top. I probably didn’t need too, but there were some bubbles in the veneer that I wanted to sand down. I just sanded the shine off. There is no need to sand to bare wood.

You will need to dust your furniture off before you apply primer. I used tack cloth followed by a damp lint-free cloth. Make sure to wipe down the legs too since dust knows no boundaries.
If the furniture isn’t smooth before you paint it, it will not be smooth after you paint it. No matter how many coats you put on.
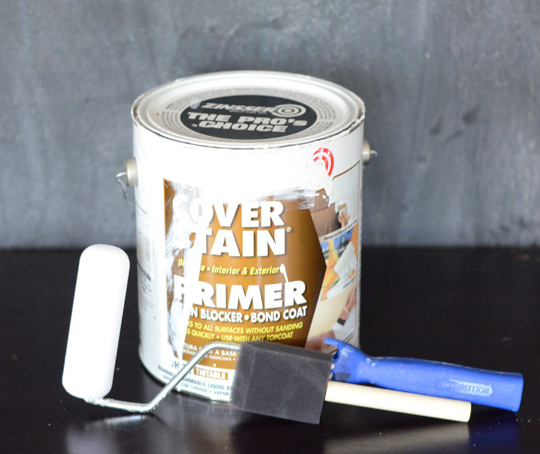
4. Prime.
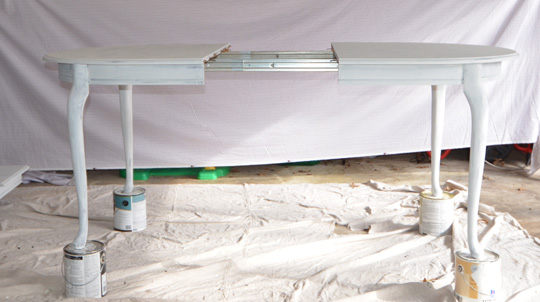
I used Zinsser Brown Label Primer. I applied it with a foam brush on the legs and around the table. I used a high density foam roller for the table top. Apply a light coat. Remember that it isn’t going to look pretty. It will appear blotchy, but you aren’t painting your furniture white with it. You are simply preparing it for your color. (I put the table up on paint can, so I could paint all the way down the legs without touching the drop cloth.)
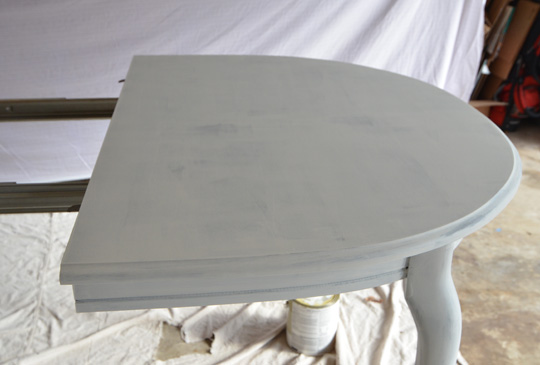
I get brownie points for applying 2 coats to the table top since it will get the most wear. Even with 2 coats, you can see it’s blotchy. Good thing about primer is it’s ready to recoat within an hour. I gave it more time than that because I basically only have 2 times to paint a day – naptime and bedtime.
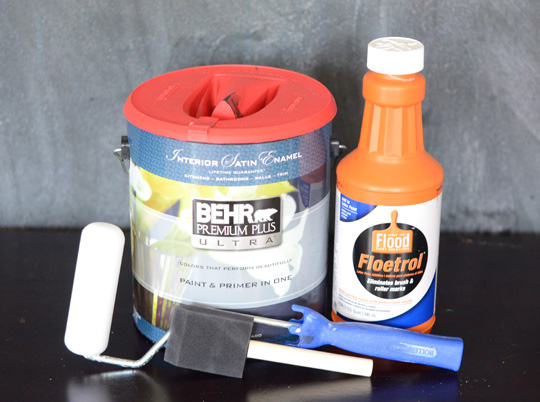
5. Paint + Floetrol
I already spoke of the wonders of Floetrol when I painted the chairs. I mixed my Behr Premium Plus Ultra Black Suede with Floetrol in a plastic tub according to the directions. I applied the paint the same as the primer. Foam brush for the legs and around the table and high density roller for the table top. I was painting black on a surface I just primed with white, so I knew it would take some coats. Be patient and apply light coats. Give yourself at least 4-6 hours between coats. Before each coat check for drips (I’ll address this later) and clean the surface since garages are full of dust.
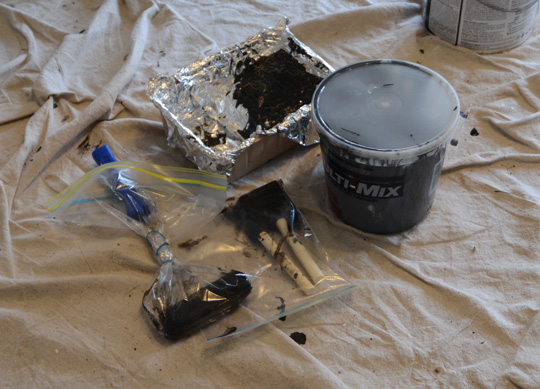
I stored my brushes in ziplock baggies. I put foil down in the pan, so I could just toss it between coats. It saved me from buying multiple pans or cleaning it out each time. That plastic tub is my paint + floetrol mixture. You can find them at Home Depot.

It took me 3 coats to get the table covered evenly. When you roll, start at the edge of your surface and roll to the other edge. It’s not like painting a wall where you make V’s. You want a consistent look without brush marks or streaks. It is the same with the foam brush. Start and the top and pull the brush down. If the paint is starting to dry, you will have brush marks if you roll over it again to get a missed spot. Wait and get it on your next coat or touchups.

6. Polyurethane.
I applied Minwax Wipe-On Poly in Satin to the legs and around the table. Rule #1 use latex gloves when applying it or you will have sticky hands forever. It’s quick you just pour some on a towel and wipe (exactly like liquid sander). I find that it works great when dealing with curves. I used Minwax Fast-Drying Polyurethane in Satin for the table top. I applied it with a foam brush. The wipe on was too streaky for the smooth table top surface.
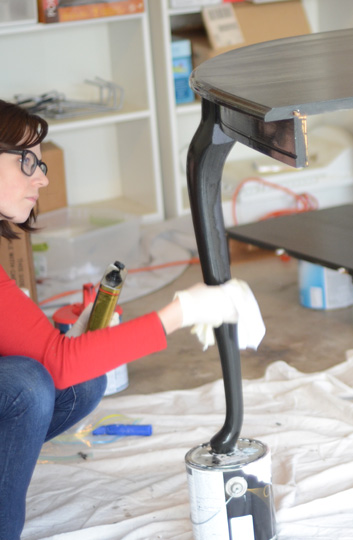
Wait about 4 hours between poly coats. I put 3 coats on the legs and table top. Let it cure for at least 24 hours before you use it. I waited a week (remember antique rug + broken vacuum). I probably would have given it 48 hours just to be on the safe side.
Extra Credit, Dealing with Drama:
When you find a paint drip, use 220 grit sandpaper and sand against the drip. It’s dripping down, so sand up. Sometimes you get lucky and it peels right off when you sand. Sometimes it doesn’t, but don’t sand back and forth. You will wind up taking off more paint than you want.

Here’s a close up of the table because it’s just so pretty all jazzed up in black.

As with any DIY project, I am a firm believer in researching different ways people tackle their projects. Here are some resources I found the most helpful Centsational Girl, Young House Love, and Alter’d Designs (she has more information in her ebook about glazing, distressing, etc).
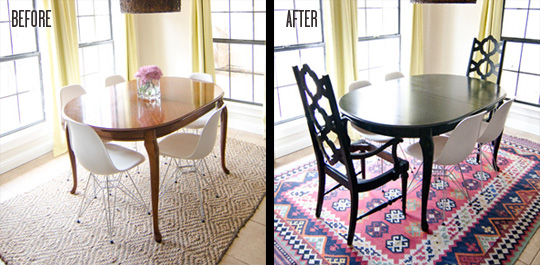
The nook is coming together. I know the chairs still don’t have seat…I’ll get to that this week.


Great job! Looks beautiful. Where did you get all that talent?
Um…I got it from my mama!
Thank you, thank you, thank you! Bookmarking this for my furniture painting project.
You may want to check Abigail Ahern’s painted round claw foot table at theselby.com as another sample of brilliantly painted furniture. Here’s the link: http://theselby.com/7_7_11_AbigailAhern/
AA’s work is amazing. The first time I saw that table it blew me away….
Thanks for stopping by the blog! Hope this guide helps in future projects.
THANK YOU~ Your table is gorgeous. My table is prepped but I was unsure what type of roller to use. Your blog was just what I needed. I purchased a standard size foam roller. Think I will go back to Home Depot and get the smaller, more dense one. The Floetrol tip is great!
I’m a bit nervous about the polyurethane. Is the foam brush you used the size in the picture?
You are so very welcome! I am glad that it helped you with your table. I did use the same size foam brush that is in the picture. Poly is a bit tricky because you don’t want it to streak or bubble and ruin all your hard work. Make sure you don’t push your foam brush on your table. The poly will bubble out. If it does that, then just brush gently until the bubbles are gone. It is definitely the hardest part of the process. Good luck!
I am looking for ways to finish my cabinet, I tried two ways without satisfaction. 1. Expensive Prudy Nylox brush, it still leaves brush marks 2. Harbor Freight household paint sprayer, it gives a smooth finish but the gun’s output volume is just too low, it takes forever just to finish a door panel. Besides the thinning is tricky with spraying, too much water left drips, too less leaves splatters.
I will try foam roller/brush and see how it works.
Make sure to roll slowly. It will help the finish remain smooth. Good luck!
One question, do you follow the V rolling pattern or just do straight laps when you roll the paint on?
Thanks,
Straight laps from the start of the piece to the end. You want a consistent finish.
I tried roller, but unfortunately it doesn’t work for me. Either I can’t put enough paint or putting too much on and made a puddle.So I went back to the spray gun. Anyway your post is extremely helpful.
Maybe not enough Floetrol? I always make sure to roll several times on the tray to push off excess paint. It’s better to not have enough than have too much paint. As long as the paint isn’t drying, you can roll over the same spot. Just some thoughts if you attempt another piece of furniture! I’m glad you found the post helpful!
I found this blog through Pinterest and am so excited to use the tips that you’ve so carefully documented to help make my home come to life. Amazing! Funnily enough, after going over to your “About Us” section, I saw the picture of your family and kept thinking, “Man, they look so much like the Christmas card on Taylor’s fridge.” Taylor and his roommate have been helping me complete some of the projects inspired by this blog. Putting 2 and 2 together wasn’t difficult because Nick and Taylor look so much alike. Small world, right? Keep up the good work, it’s inspiring for my little home in L’burg
Oh my gosh! That is crazy! Thank you so much for the sweet words of encouragement. Hope you’re keeping Taylor in line while he’s away. Good luck with your projects. Glad all the Wills can give you a little help along the way! I think you know someone who can get a hold of me quick if you have any questions 😉
Also, we’re sorry about Taylor
Bahahaha. He really is a good kid, but I keep him around mostly to retrieve tall objects that I can’t reach
Thank you! I’m doing my best to keep Taylor-saurus in line. He’s usually easily convinced when there are snacks involved. I’ll be sure to keep you posted on the progress of my projects, but if I need more assistance with getting your help, I’ll bribe him with compliments and cookies 😉
I’m getting ready to give quite a few pieces of furniture a face lift since I’m moving into my new home and want to start fresh. I’ll be staining some pieces, but there are a couple that I would like to paint. Great tips!
Thanks Kristy! Glad this helps! I have some staining tips for veneer furniture too. Good luck!
I wanted to know if I used the Wipe-On poly on top of a white desk do you think that you will be able to see the streaks? I am refurbishing an old desk of mine for my daughter and I have painted it white. At first I read somewhere to use the paste wax finish as a top coat and that was horrible, so then I read somewhere else to use the Wipe-On Poly. I went and bought some of it in clear gloss, but now I see that you say the wipe on leaves streaks, do you think that it will be ok on white paint? I also wanted to compliment you on your table, it turned out really beautiful!!!! This is my first piece of furniture, it hasn’t been too bad, I just have to learn what top coats go best with what finishes. My next project will be the matching dresser/hutch that goes with the desk. Great job!!!!
Glad you tackled the desk! I’m sure it turned out great! I wouldn’t use polyurethane (wipe on or otherwise) on white paint. It will yellow over time. You can use polyacrylic which isn’t the strongest seal, but it won’t yellow. I know you’ve already painted it, but just fyi I use enamel paint when I paint furniture white like our veneer dresser. The polyacrylic should be fine though! Good luck on those final steps!
I have to say, I followed this guide religiously and did not get the desired results. It started with the second step, liquid sander. I was working with a laminate table so don’t know if that had anything to do with it, but it basically did not do a thing to the surface. I was really trying and hoping to avoid sanding, and was excited when I saw you didn’t do any sanding but low and behold right off the bat I was sanding. Then I also sanded between coats, per my husbands’s suggestion as he saw me majorly struggling with how it was turning out. Then when applying the first coat of polyurthane I had so many bubbles it was awful. Again sanded that down and then went with a semi-gloss finish for the second coat which I liked a lot better than the satin. Thats where I’m at in the process, one more sanding to go and one more coat of finish. Did you really get through it without sanding or was that just inferred in the following of the minwax instructions?
I sanded the top of the table and used the liquid sander for the legs. Painting furniture is tricky because a lot depends on the piece of furniture (condition, wood, etc) and humidity/the weather plays a giant role as well. I have painted furniture that hasn’t required any sanding between coats only needed to be wiped down to avoid painting dust into it. Check your dry times. The problems between coats might the happening because the previous coat isn’t dry enough. Semi-gloss is going to require more time to dry. I’m not sure if you are experiencing problems because you switched finishes either. That could be another issue unless you primed the furniture again. The bubbles might have to do with the brush you are using or the speed at which you are applying. I’m sorry that’s a lot of ifs. It’s just very difficult to pinpoint the problem because there are so many factors. I hope that helps troubleshoot some of the problems! Good luck!
Apparently this was right before I started following your blog. But dang, kids! You got style for sure!
Haha they’ve been neglected for over a year. I would not expect you to remember them anyway!! I was trying to jog your pregnant memory!